How to Make a Holiday Wreath!
Growing up on Martha’s Vineyard, we always had grapes growing on our back porch. These grape vines would grow rapidly in the summer time, latching onto the roof of the porch, and making their way connecting to nearby trees, and even creating a beautiful canopy over the outdoor shower. By late summer and early fall there were dark purple sweet Concord grapes hanging all around the porch. Because my mother is a gardener and has the greenest of thumbs, she taught me how to cut back the grape vines every winter, in order to promote new growth the following spring. So began our tradition of cutting down the grape vines sometime in between Thanksgiving and Christmas, so we could keep the grape vines healthy and so we could make holiday wreaths!
This year, living in Brooklyn, we luckily have grape vines in our backyard! So I was excited to keep the tradition going and make my own holiday wreath.
Things you’ll need:
-
Old, dry grape vines (around 5-10 per wreath)
-
Sheers or cutters for the vines and greenery.
-
Green wire for wreaths (you can get at many garden/flower stores, and craft stores).
-
Fresh greenery including, boxwood, pine, evergreen, holy leaves and berries, etc.
-
Decorations including ribbons, berries, sparkly things, etc.
-
Gloves
Let’s Get Started!
Cut down those vines!
Using your clippers or sheers, make sure to cut long pieces.
1. Cut down long pieces of vines. Around 5-10 per wreath that you are making. Of course these varies depending on the size of the wreath you are making.
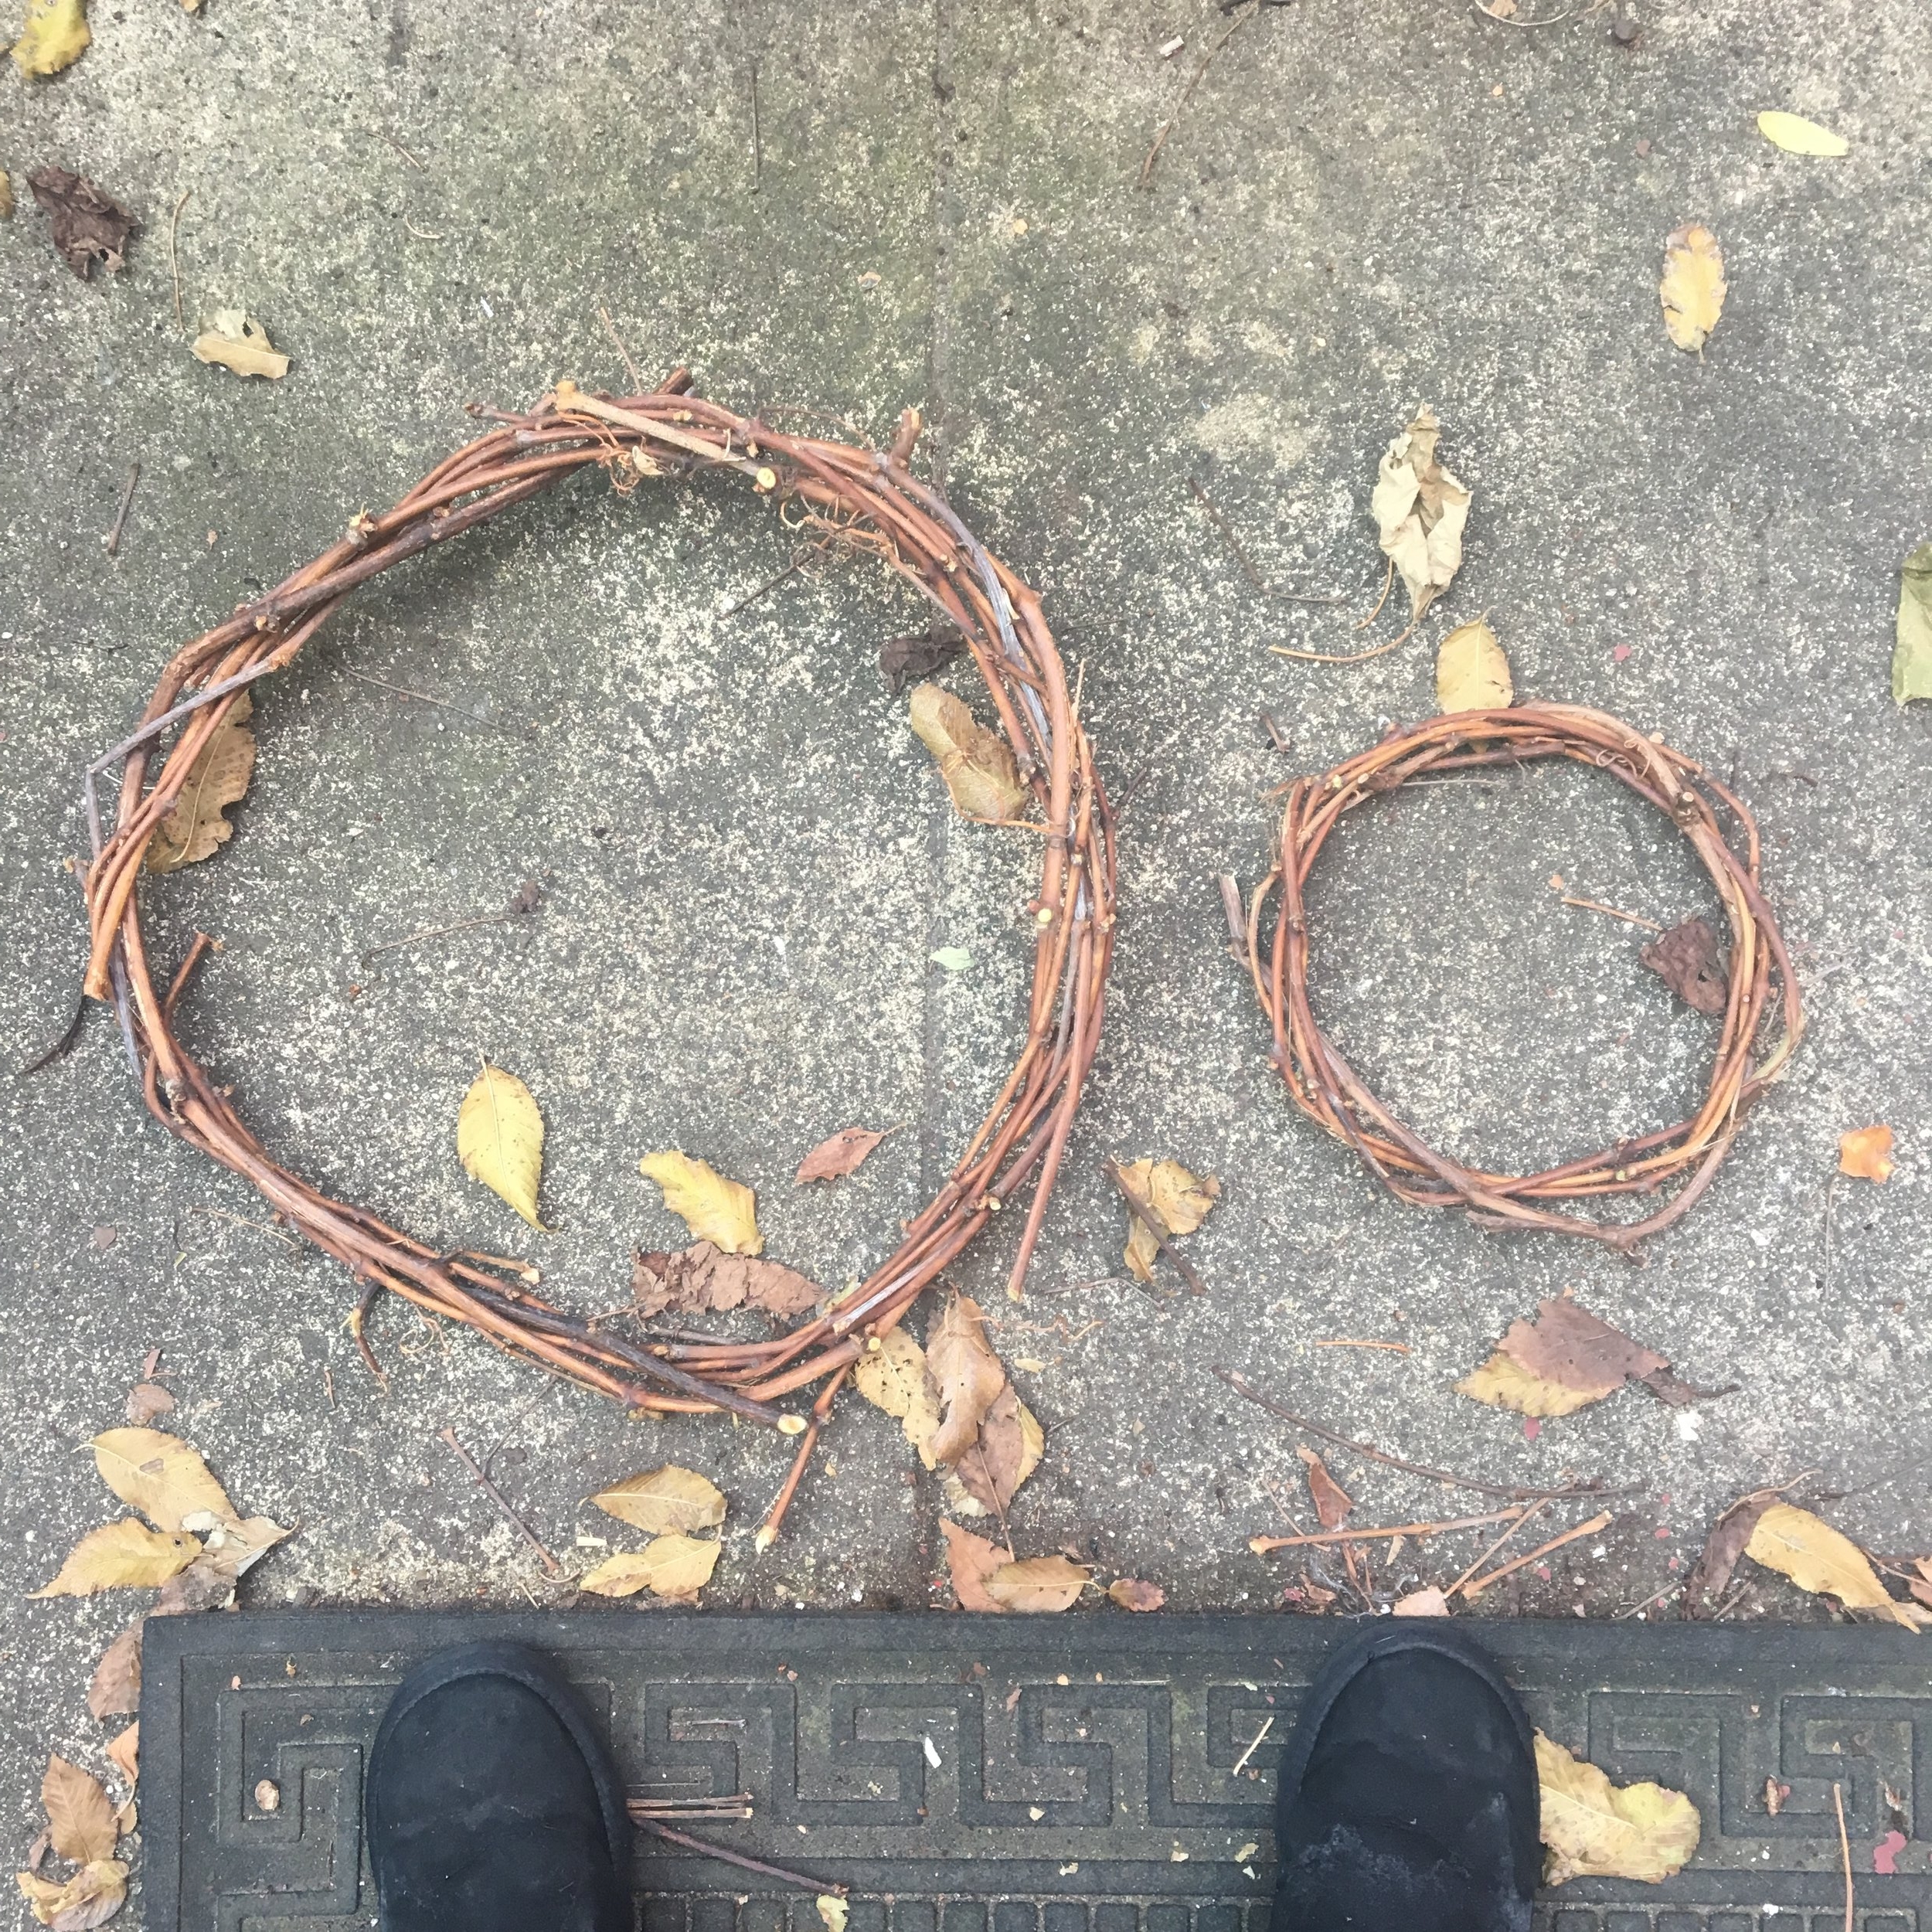
2. Begin to create a circular shape with the vine, simply wrapping the vine around itself. You can use anywhere from 5-10 different vines to shape your wreath. It all depends on how thick you want it to be. The more vines the more sturdy it will be.
Shape them into circles.
Keep in mind they don’t have to be perfect circles, when you put the greenery in, that will fix the shape!
3. Start collecting greenery from… anywhere/everywhere! If you live near the woods, start gathering different types of greenery, from boxwood, evergreen, pine, holly, grasses, whatever you’d like! If you don’t live near these kinds of trees you can also go to the grocery store and farmers markets around this time of year and buy bundles of greenery.
Get all your supplies ready!
I’m using boxwood greenery and some red berries I found at Trader Joes.
4. Get your green wire ready and start laying the greenery down, all facing the same direction. (This part is very important!) You want to layer the greenery on top of each other, all facing the same way, wrapping the wire around each small bunch that you lay on top of the vines. Trying your best to hide the wire each time you wrap. And don’t cut the wire! Not until you are all the way done. Just keep wrapping, and wrapping, and wrapping.
5. At the end leave enough wire so that you can create a loop to hang the final product.
6. Here’s the fun part. Taking any decorations you make have, from red berries, to sea shells, or holy berries, or gold sparkly things (I found mine at Michael’s Crafts). Start tucking these decorations into the wire, and vine wreath frame, using any extra wire you may need to really get them to stay put! You can also layer in different type of greenery at this point.
7. Trim off any crazy branches or greenery that is sticking too far out. I like a loose kind of look. It makes it feel more homemade, which I like. But if you want a really neat and tidy wreath go ahead and start trimming those rogue branches.
Look how pretty!
Comments (2)
Never knew how the inside part of a wreath was made, now I do and I feel more festive!


Nice project! Bookmarking now, as I will need to go "real" next year as opposed to the plastic one I have hanging on my door right now! As a side note, I was so surprised to see wild holly trees growing in the middle of the woods while on my Cape Cod hiking trips. I always thought that they could only be found at nurseries and fancy gardens! Happy Holidays!